SAVE 30% WITH CODE BLISSLOVE
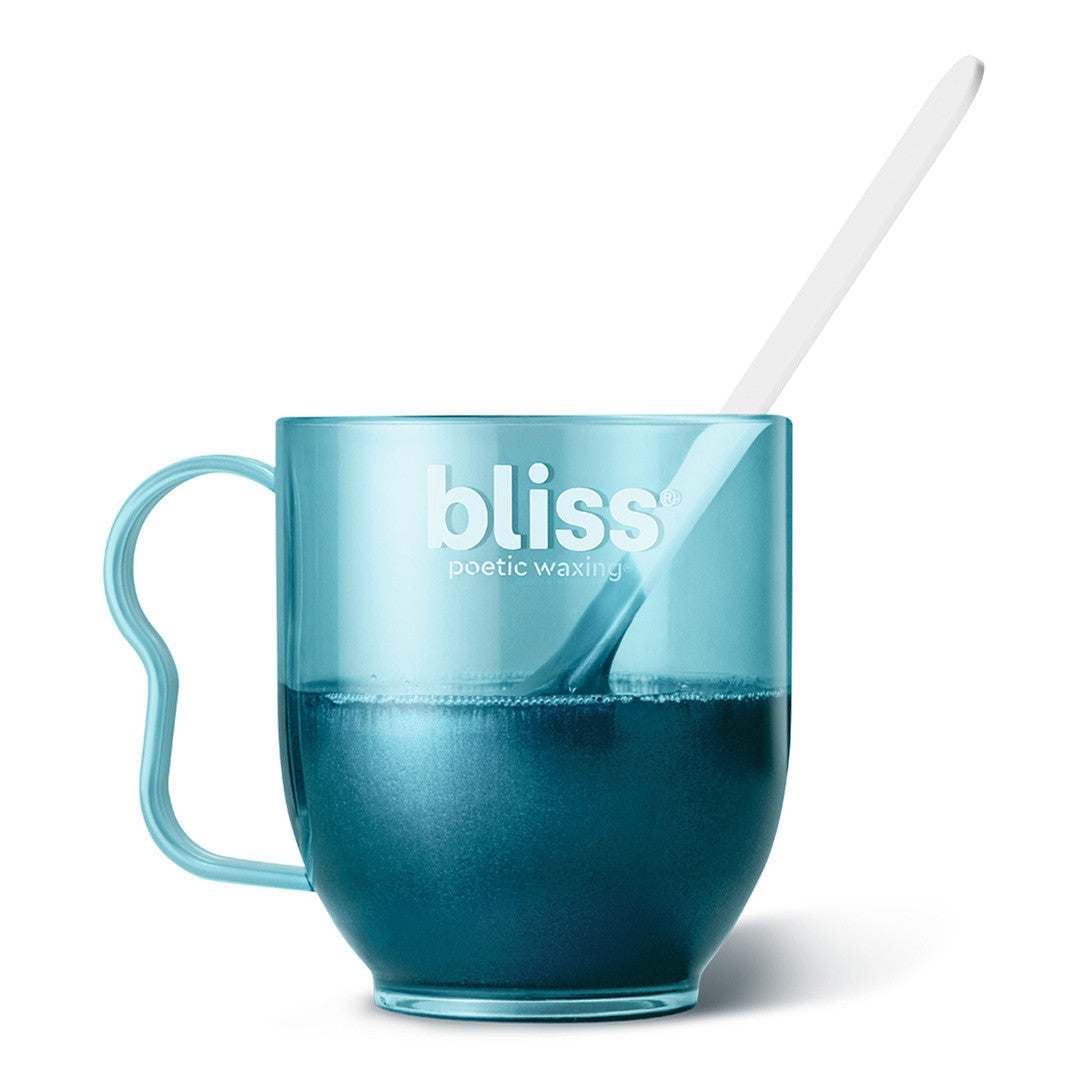
Poetic Waxing At Home Wax Kit
Straight-from-the-spa Hair Removal Kit
Bliss
- Minimum Purchase:
- 1 unit
- Maximum Purchase:
- 5 units
Videos Hide Videos Show Videos
- This iconic spa formula makes anywhere-hair removal – from eyebrow arches to ankles – a breeze. No strips, no appointment needed.
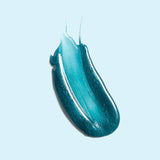
- Safe, low-temp, no-strip wax hardens quickly making it fast and easy to use; colorful blue formula for precise application
- Wax shrink-wraps each follicle to remove even the shortest, coarsest and most stubborn hair from the root, so skin stays smoother longer
- Chamomile oil makes it gentle enough for the most sensitive skin, leaving skin soft without irritation
Skin Type(s): All Skin Types
Size: 5.3 oz
At Home Wax Kit Key Ingredients:
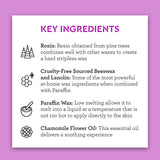
- Rosin: Resin obtained from pine trees combines well with other waxes to create a hard stripless wax
- Cruelty-free sourced beeswax and lanolin (“wool wax”): Some of the most powerful at-home wax ingredients when combined with Paraffin
- Paraffin Wax: Low melting allows it to melt into a liquid at a temperature that is not too hot to apply directly to the skin
- Chamomile Flower Oil: This essential oil delivers a soothing experience
- Apricot Oil: An easily absorbed, lightweight oil that protects the skin with moisture
- Roman Chamomile Oil: This essential flower oil provides light moisture
Please be aware that ingredient lists may change or vary from time to time. Please refer to the ingredient list on the product package you receive for the most up to date list of ingredients.
Scent:
-
Fragrance Free
Blissfully Free From:
-
1
Parabens
(Bye!)
-
2
Phthalates
(no thanks!)
-
4
SLS FREE
(See ya!)
-
5
SLES FREE
(never again.)
-
3
CRUELTY FREE
(Always.)
- SEE FULL LIST >
Directions
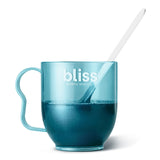
- Place the Bliss Poetic Waxing® cup in a microwave oven and heat in 30-second intervals, until the wax is the consistency of thick honey. A full cup usually takes up to five to six 30-second intervals to melt the wax to the desired consistency. Actual heat times may vary depending on your microwave and the amount of wax in the cup. If wax is too thin, allow to cool and thicken in the microwave before removing.
- NOTE: To ensure even heating and optimal performance of wax, stir semi-melted wax between each 30-second microwave interval.
- If the wax gets too cool during waxing, simply re-heat cup for 30-second intervals until ready. If wax is too thin, allow to cool and thicken in the microwave before removing.
- The cup may be warm to the touch so always remove from the microwave by using the handle. HOT WAX CAN BURN.
- DO NOT heat cup on the stovetop, in a conventional oven, or any other manner besides as instructed.
- Before you begin, use a spatula to test the wax temperature on the inside of your wrist. Wax should be spreading consistency but not be uncomfortably hot.
- Cleanse the area to be waxed with lukewarm water or a damp towel and blot dry. Then massage a few drops of Pre- & Post-Waxing Oil into the skin. Blot away any excess oil, as it may keep the wax from gripping.
- Dip a spatula in the wax, and twirl to avoid dripping.
- Apply the wax AGAINST the direction of hair growth for short hair (bikini, lip, chin, cheeks and eyebrows), or WITH the direction of growth for longer hair (legs, arms and underarms).
- BLISS TIP: When you apply the wax, layers should be as thick as a banana peel (about 1/8”). Make sure to use some pressure when applying the wax, to form firm and full edges for easy peeling.
- When the wax has dried enough so it is not tacky to the touch, it is time to remove (but don’t wait too long – wax may crack). Press down on the entire patch to ensure a uniform removal, then hold the skin tight, grab an end, and remove the wax in a brisk fashion against the direction of hair growth.
- BLISS TIP: After removing the wax, apply immediate pressure to the waxed area to dull any discomfort.
- If you need to wax the same area more than once, reapply Pre- & Post- Waxing Oil as necessary.
- Once you have finished, cleanse the area with lukewarm water or a damp towel to help prevent ingrown hairs, and follow with Pre- & Post- Waxing Oil to soothe skin and remove any residue.
- BLISS TIP: To further prevent ingrown hairs and bumps, we recommend a swipe of Bliss’ Bump Attendant™ Ingrown Eliminating Pads the day after your waxing session.
- Waxing Cup
2 Large Spatulas
2 Small Spatulas
Pre- & Post-waxing Oil
Instructional Booklet